Steps
You have created your first insole and now you want to modify an element and add it to your personalized library. This way you can easily add it to your future insoles.
Time to finish: 10 minutes
Required: A 3D scan of a foot
Required: LutraCAD Insole software
Please note that there is also a YouTube video available for this tutorial.
Step 1
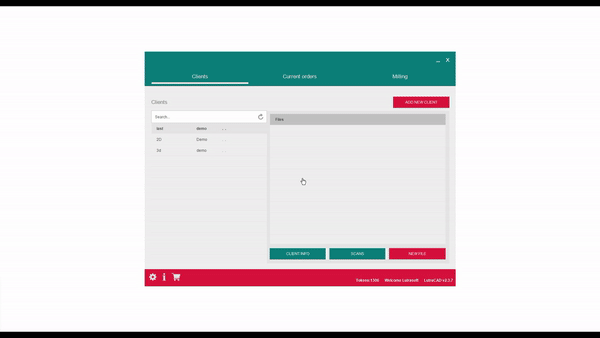
To start we have to select a client and create a new file. This can be an existing client or a new client.
After selecting the client, click on new File and start the Insole software.
Step 2
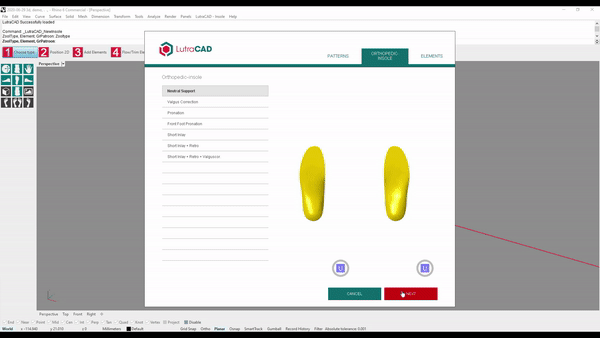
Creating a new element is always based on an existing element. Select the element and click on Next. Enter a shoe size, the element will always be scaled to the corresponding shoe size in your future designs. You don't have to design an element per shoe size.
If you want to have a completely different element, please contact LutraCAD support.
Step 3
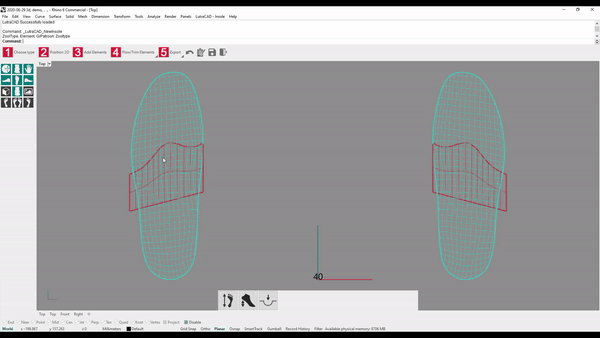
Position the element on the correct position. If you want to have an element always more forward, you can drag it more to the toes.
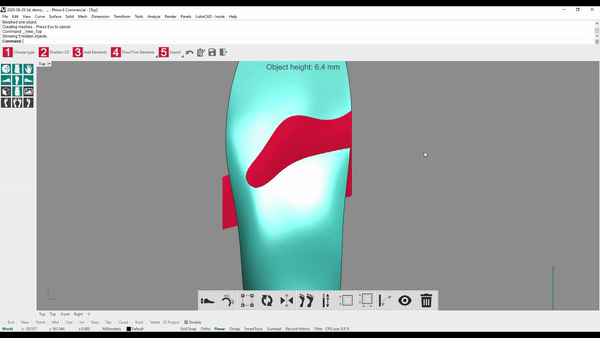
Step 4
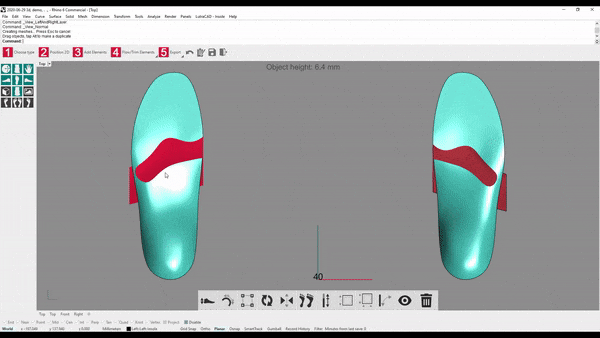
If we want to modify the shape, it is easiest to do by clicking the Isolate button (with the eye icon). Now all other objects in the document are hidden.
By selecting the element and using the tools in the bottom you can modify the element to your needs. Use the tutorial for each specific button to get the correct result.
Click on Finish on the right top to close the Isolate and show all objects.
Step 5
Now the element is ready and we can add it to the library.
- Click on "LutraCAD - Insole" in the top bar
- Go to "Library" and click "Add one element"
- Enter a new name for the element (must be unique)
- Now we can click "OK" and the element is added to the library.
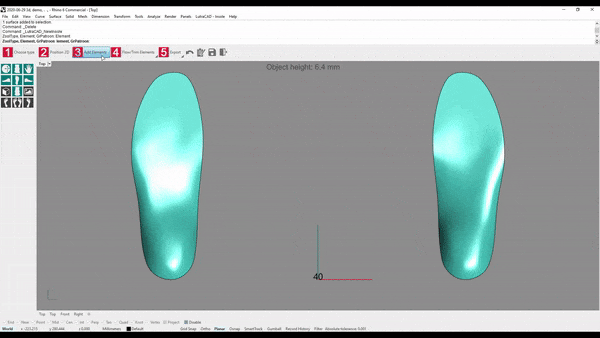
Step 6
The last step is to add the newly created element to your document, we have deleted the 2 elements (one left and one right).
Now click on "Add Elements" and you see your new element, which can be added and trimmer/flown.
Need help finding the right
anwer to your question?