How to add a 2d scan
You have created a client and now want to add 2D scans, or you want to scan directly from LutraCAD. This guide will help you get started.
Time to finish: 2 minutes
Required: A 2D scan of a foot
Required: 2D Scanner
Required: LutraCAD Insole or Shoe last software
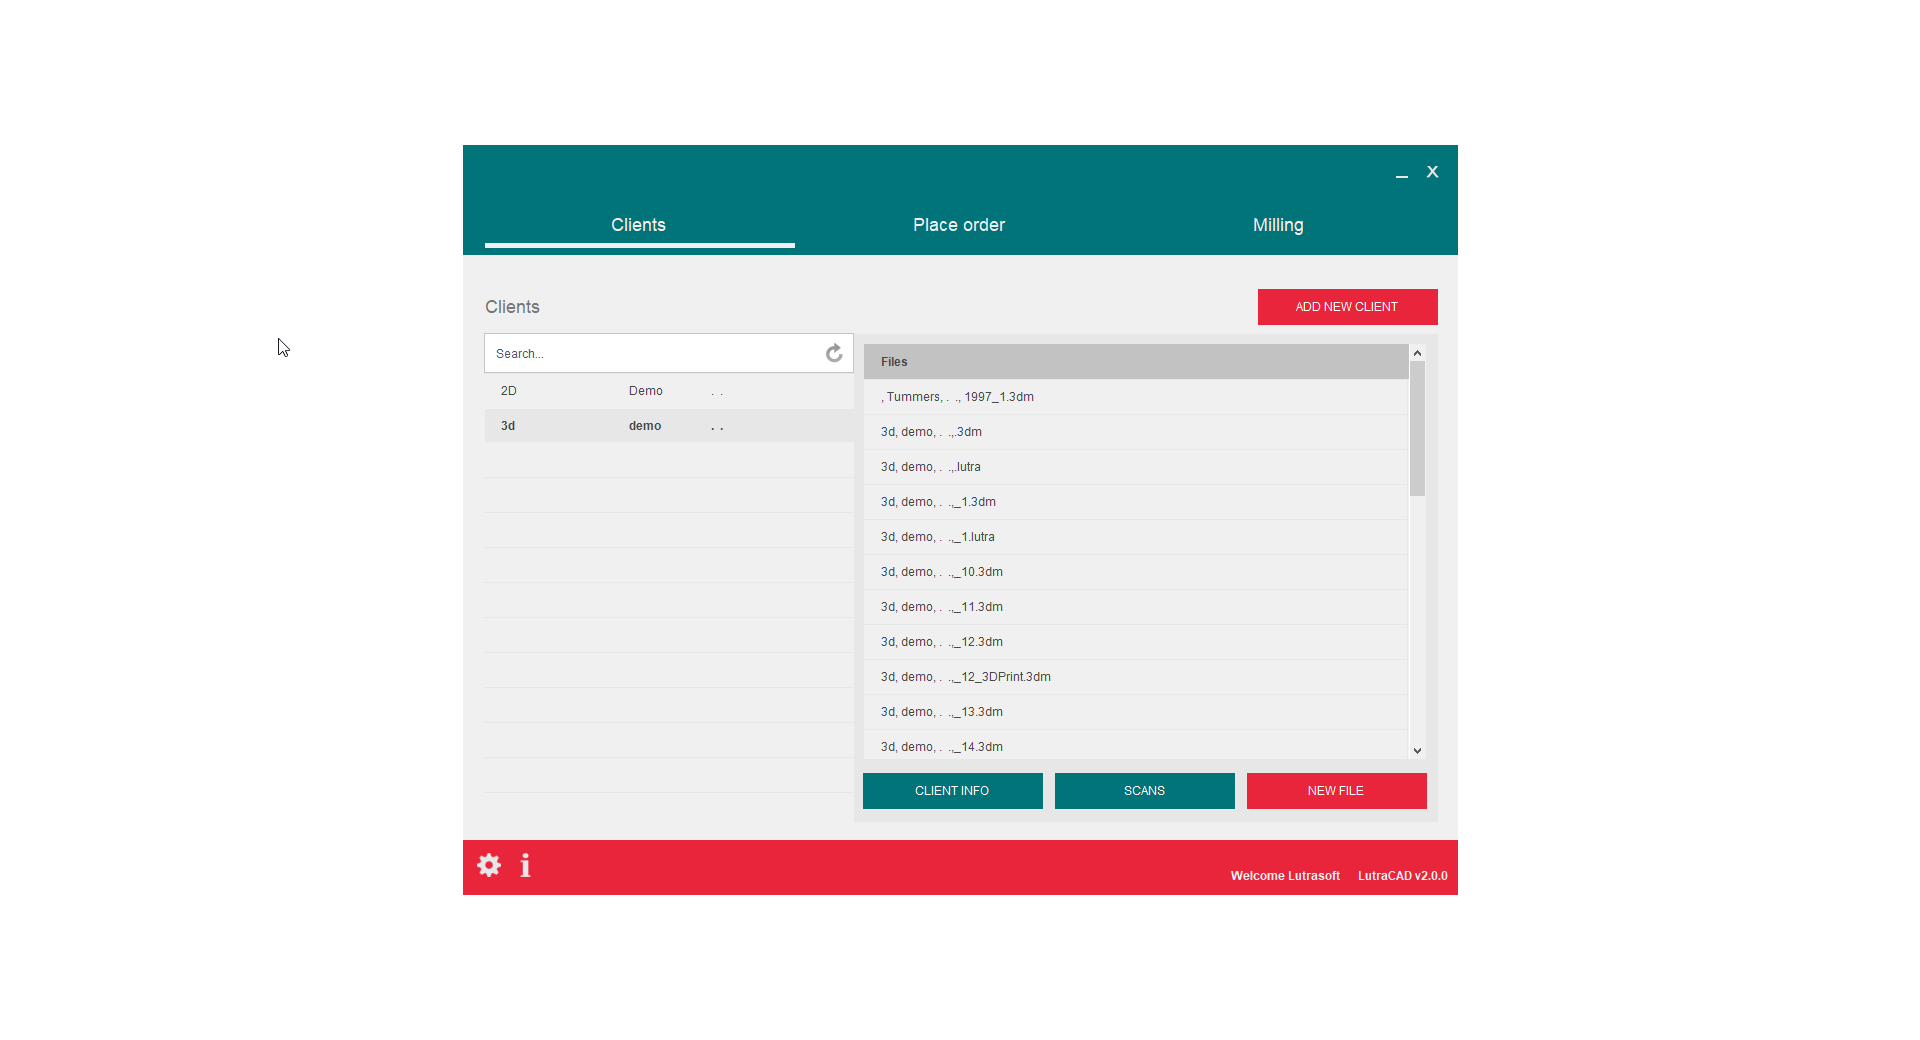
Step 1: Open LutraCAD Manager
Open the LutraCAD Manager. After you have logged into your account:
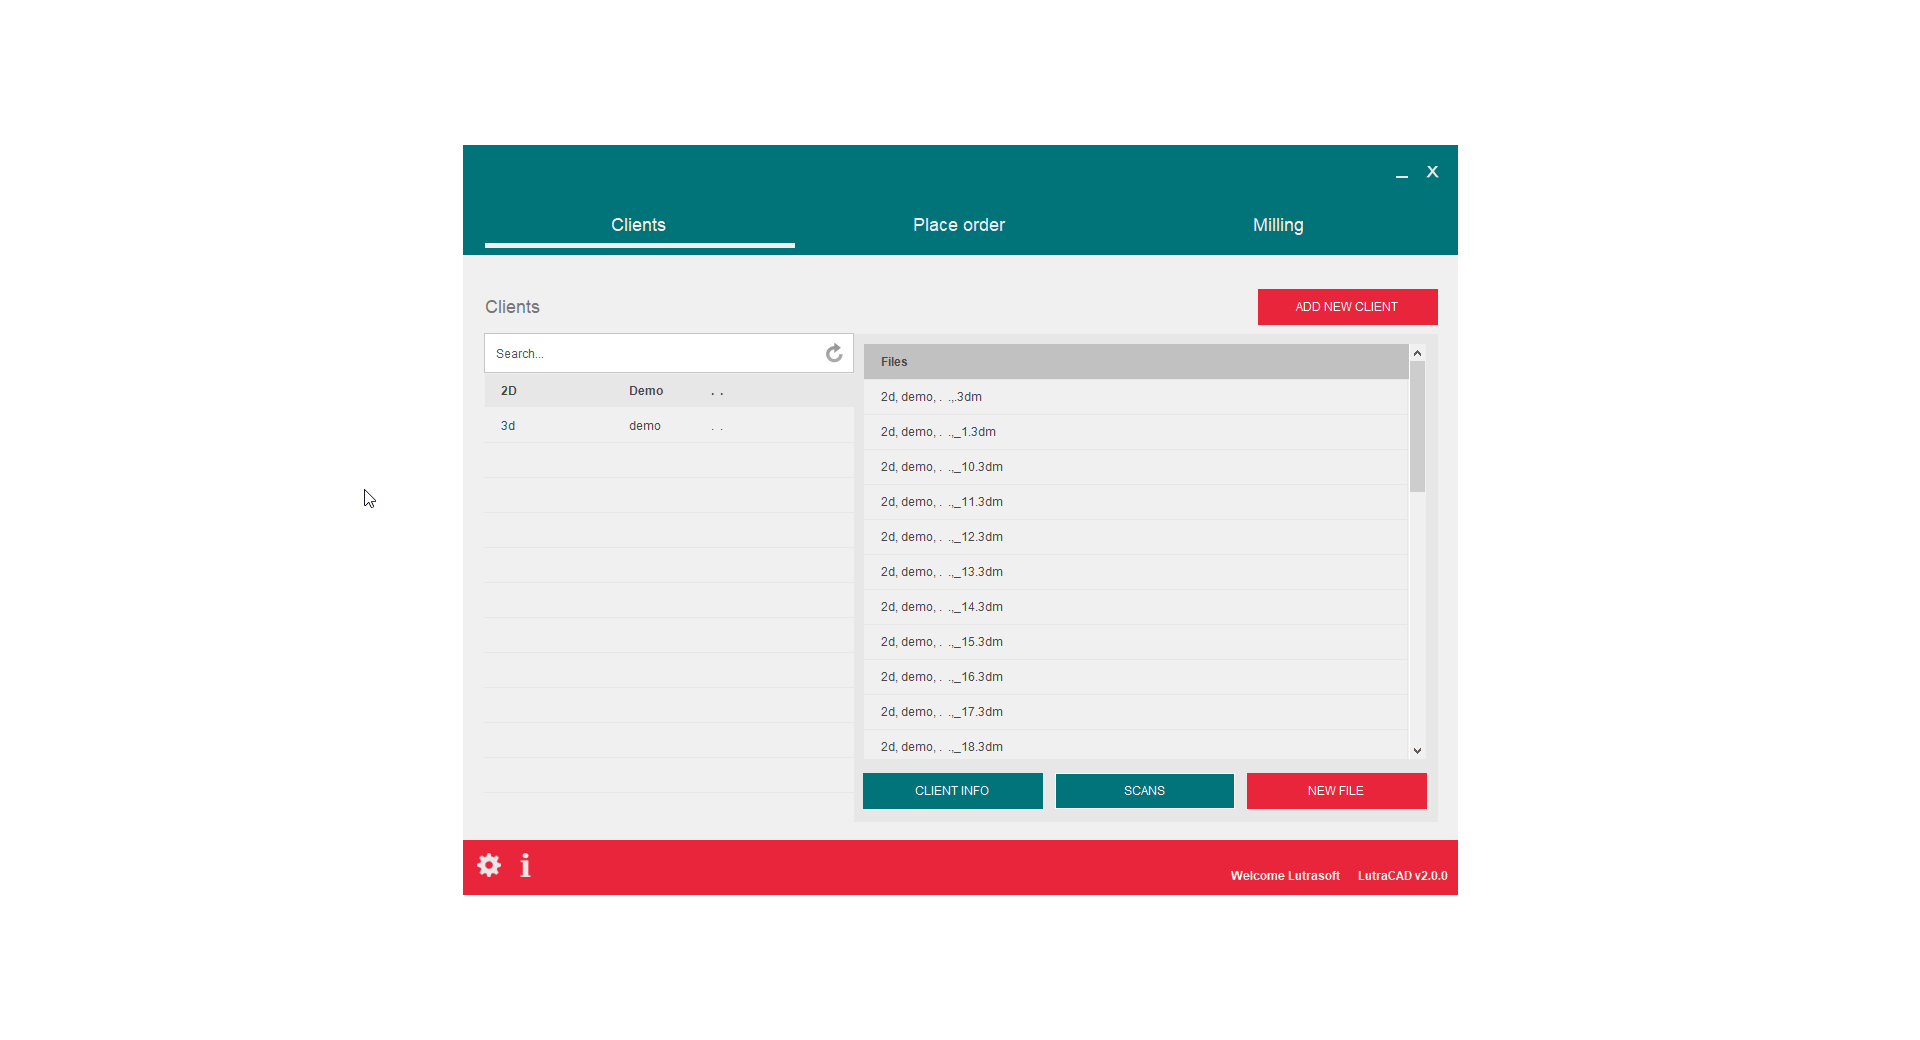
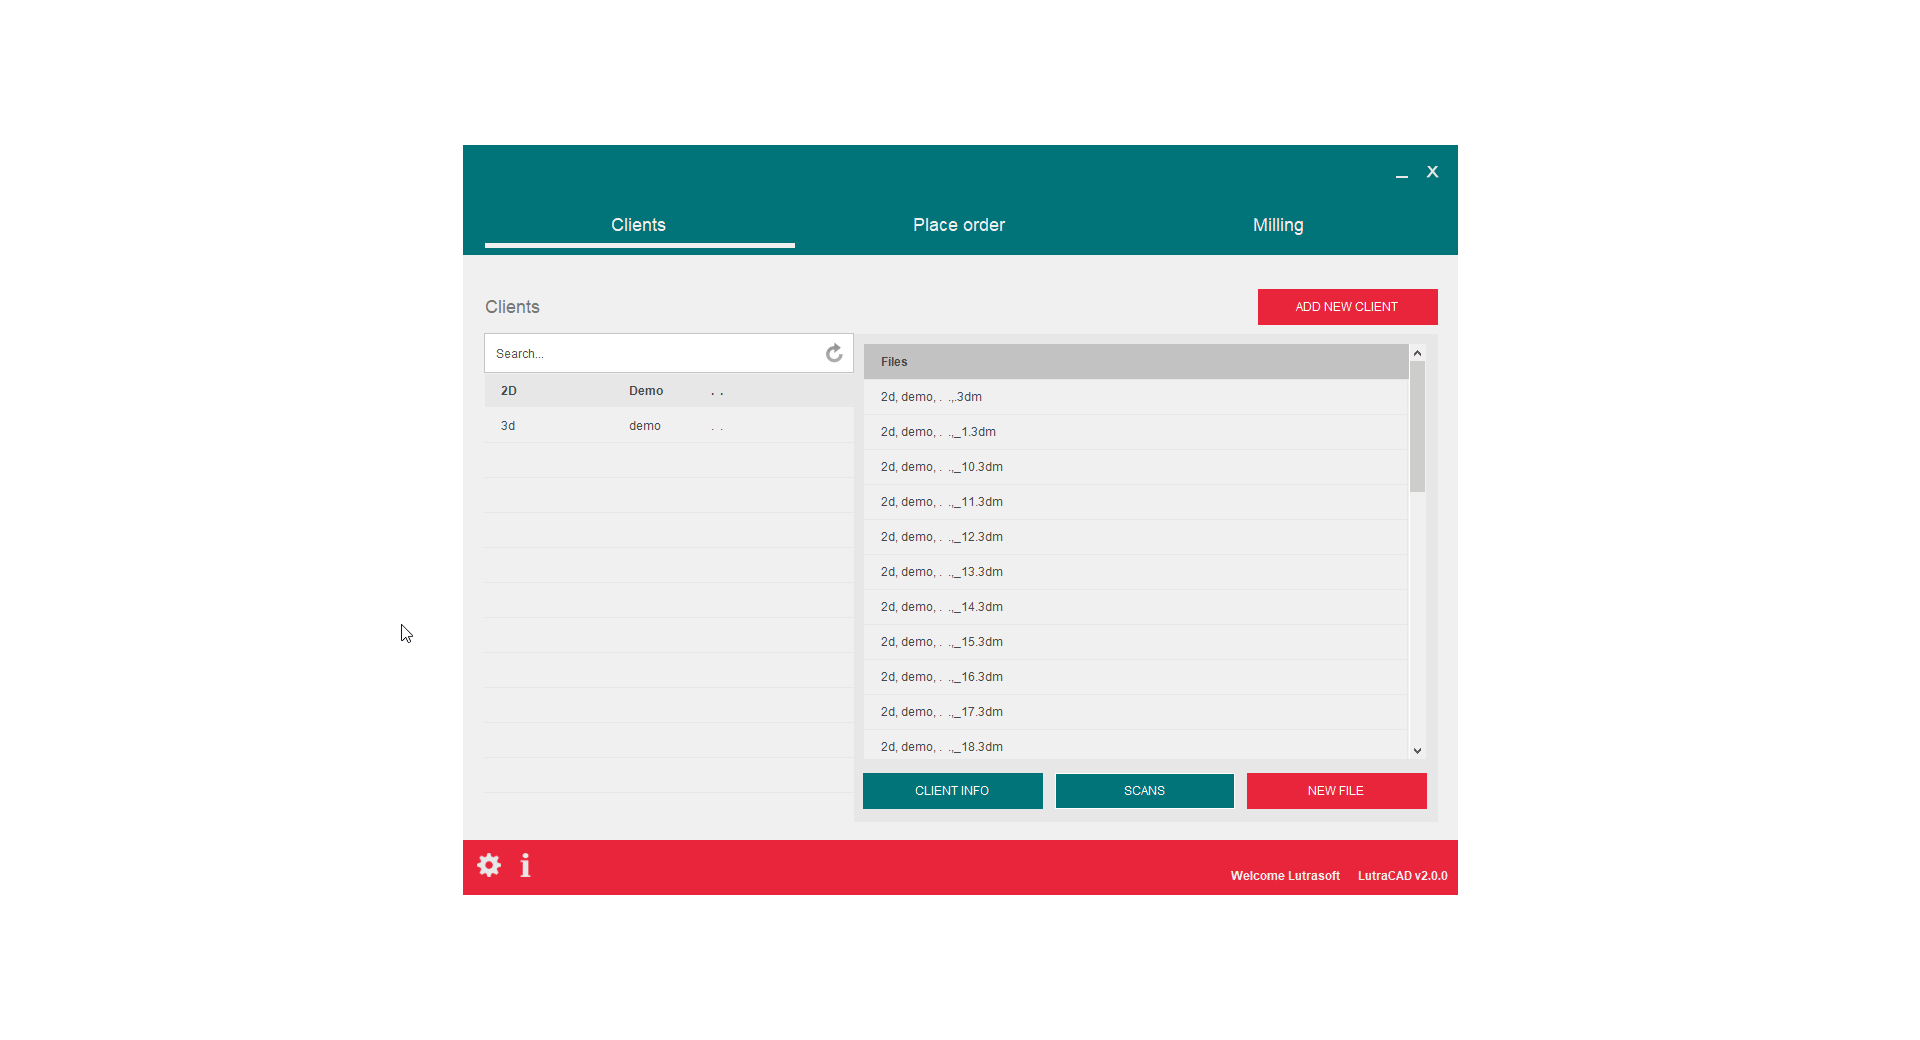
- Go to the tab 'Clients'
- Select a client on the left handside
Step 2.1: import 2 files
After selecting a client
- Click on 'Scans'
- In the new dialog click on 'Add 2D'
- Select import 2 files, one for left and one for the right foot
- Select 'Feet' or 'Blueprint' depending on your files
- Select the left foot
- Select the right foot
- A preview will be visible and click 'OK'
Step 2.2: import 1 file
After selecting a client
- Click on 'Scans'
- In the new dialog click on 'Add 2D'
- Import 1 file: One for left and one for the right foot
- Select 'Feet' or 'Blueprint' depending on your files
- Select the file
- Make a selection for the left foot
- Make a selection for the right foot
- A preview will be visible and click 'OK'
Need help finding the right
anwer to your question?
See how it works