change database location
By default the database location is on you C: drive. But if you work on multiple locations you might want to move the Database to a network drive or to a Dropbox/Microsoft Drive folder. Learn how to change the location of your database.
Time to finish: 5 minutes
Required: A 3D scan of a foot
Required: LutraCAD Manager
Please note that there is also a YouTube video available for this tutorial.
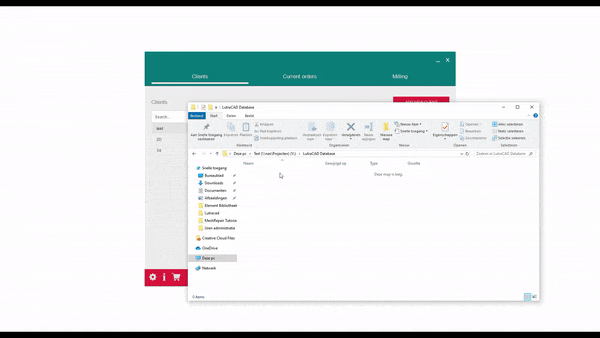
Step 1: Create New Folder
Open the network drive, Google Drive or Microsoft OneDrive and create a new folder. For example: 'LutraCAD Database'.

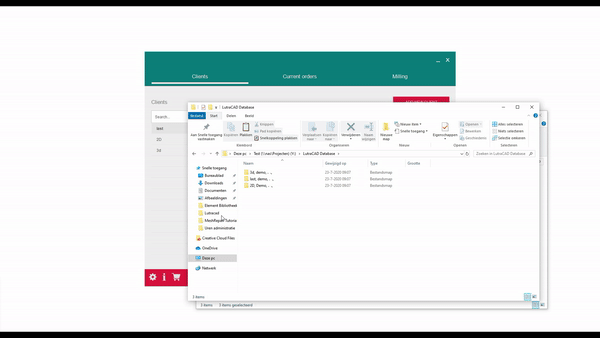
Step 2: Copy Old Database
Optional: Go to the old directory of the database (by default C:\LutraCAD\database) and copy all folders and paste them in the newly created folder.
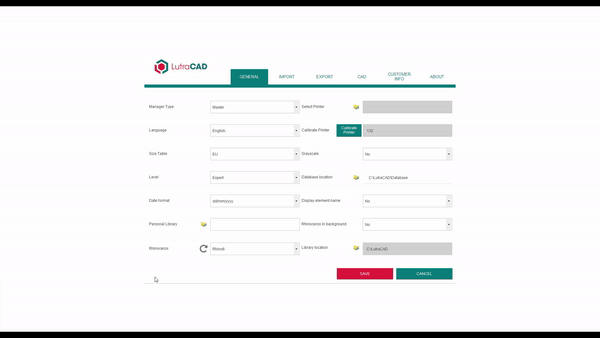
Step 3: Go To Settings
Go to the LutraCAD Manager and open the Settings (Cogwheel left bottom).
Step 4: Add New Database Location
In the Settings on the General tab click on the 'Add folder' icon next to 'Database Locations'. Navigate to the newly created folder, select the folder and click 'OK'.
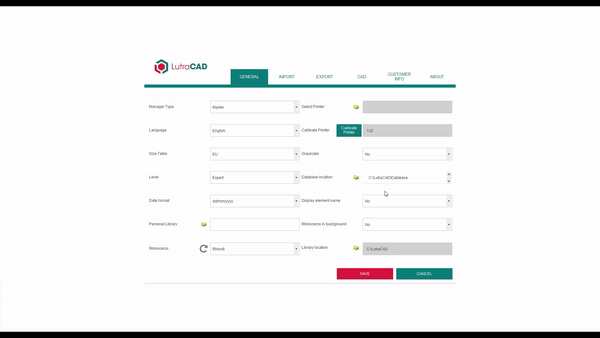
Step 5: Delete Old Folder
In the list there is still the original directory (C:\LutraCAD\database), select the item and click on the DEL key on your keyboard.
Now only the new folder is visible in the list. Click on 'SAVE'.
LutraCAD will restart.
Step 6: Test
To test the result, create a new client and in the Windows Explorer go the new database location. A new folder should be added with the newly entered information.

Need help finding the right
anwer to your question?