advanced shoe last designing
If you have tried the beginners mode and want to have more influence while designing the basis of the last this guide can be used. In this mode the software will NOT automatically do some steps for you and will not have a dialog to guide through the software. It will have step based guide lines in the top toolbar. If you want to be guided through the software more then check our guide with beginners mode on.
LutraCAD Last makes use of a template model and will merge it with a 3D scan of a foot. From this model the toe model shape and sharp edge will be used. We recommend to digitize your own last, add it to the library and use this as a basis. This way the last will already have properties you prefer.
The idea behind the software is "what you see is what you get". If you want to use a part of the template model "push" the part of the foot scan inside of the template and if you want to use a part of the foot scan "push" the part of the template inside of the foot scan.
Time to finish: 30 minutes
Required: A 3D scan of a foot
Required: LutraCAD Shoe Last software
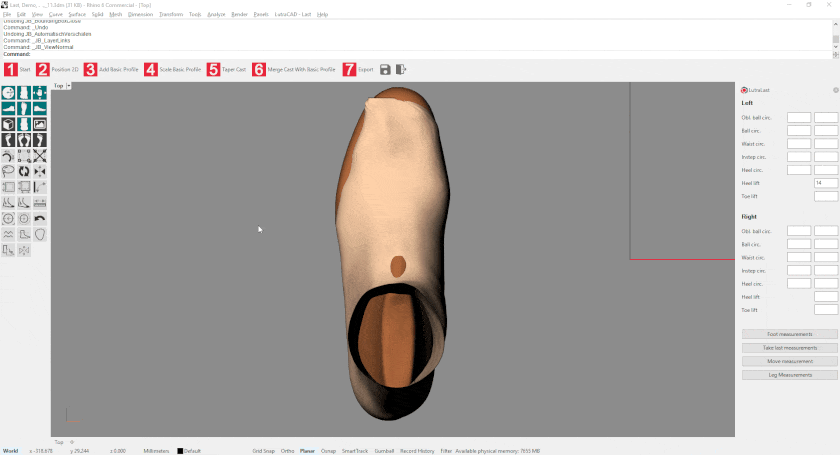
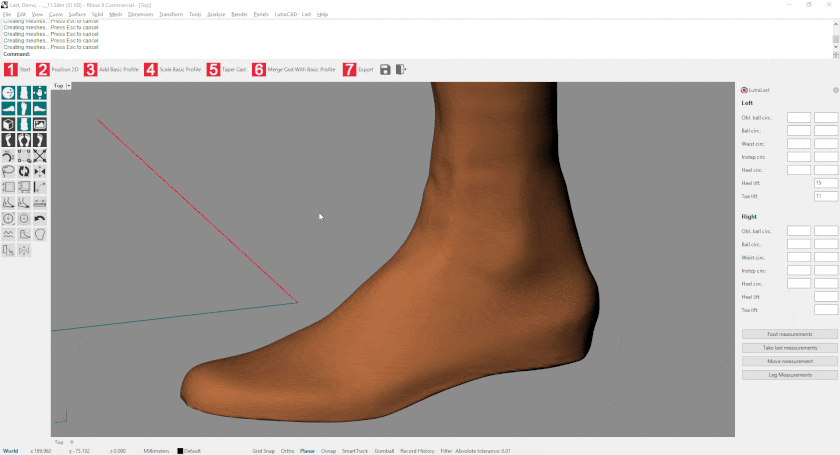
Step 1
To start designing a last based on a 3D scan we start by following these steps:
- Click on step 1: Start
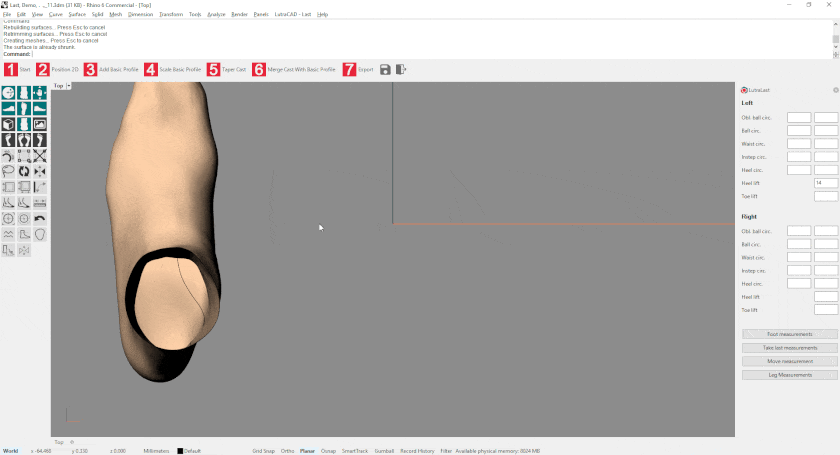
- Choose what you would like to create. We chose:
- New Last
- Left
- High
- Check beginners mode
The software will ask if you see the bottom side of the foot and will then ask for 3 points and what heel lift should be used:
- Metatarsal 1
- Metatarsal 5
- Center of the heel
- Fill in the heel lift
This will start with left and followed up by the right side.
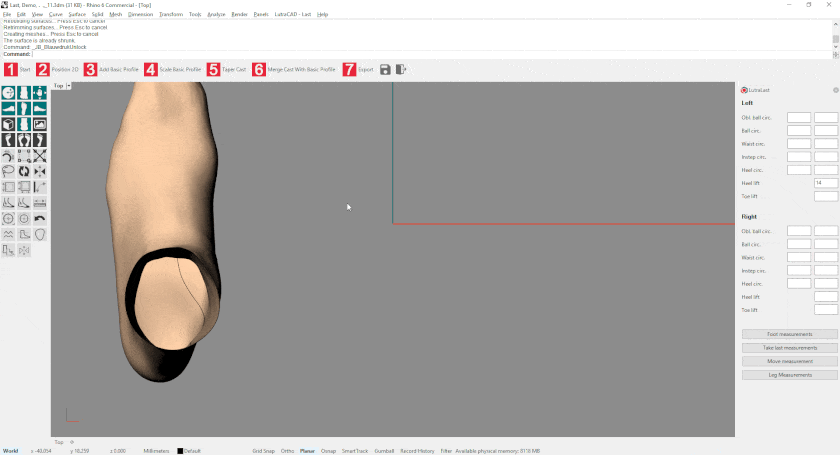
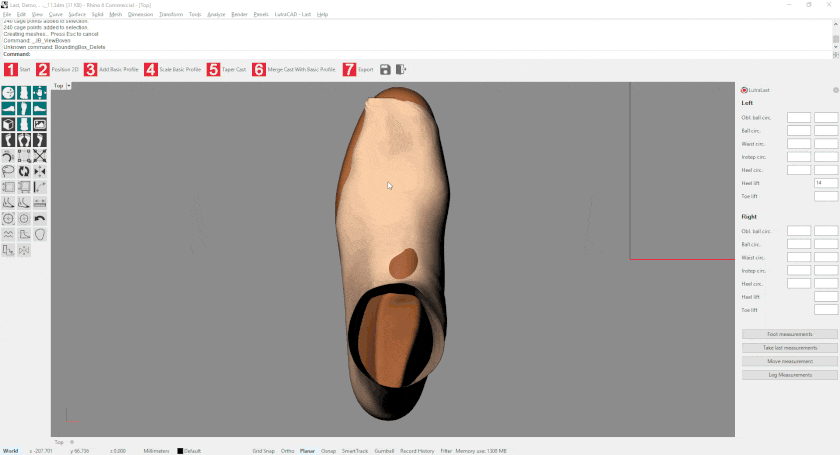
Step 2
If there is any 2D scan available like blueprint, foot scan or other image then it is possible to unlock the 2D scan and move it to the correct position and rotation. Else this step can be skipped. For further explanation visit the concerned tutorial page.
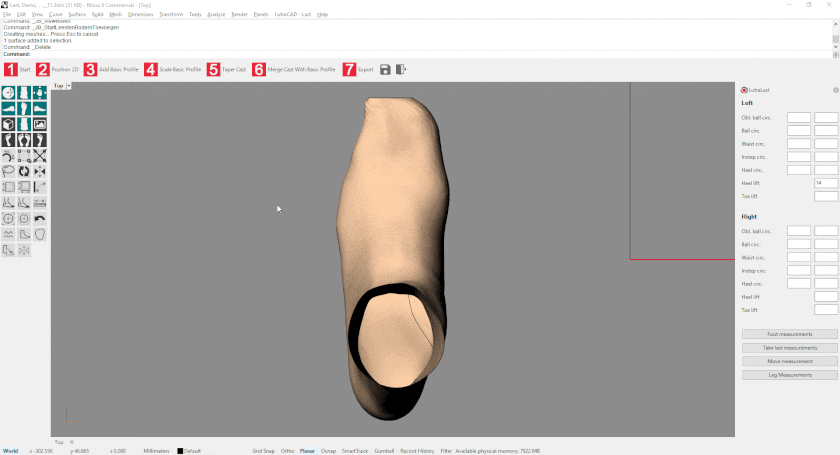
Step 3
Check if the foot scan is positioned correctly from the rear and side view and rotate/correct if necessary.
To learn how to rotate or correct the foot scan visit the concerned tutorial pages.
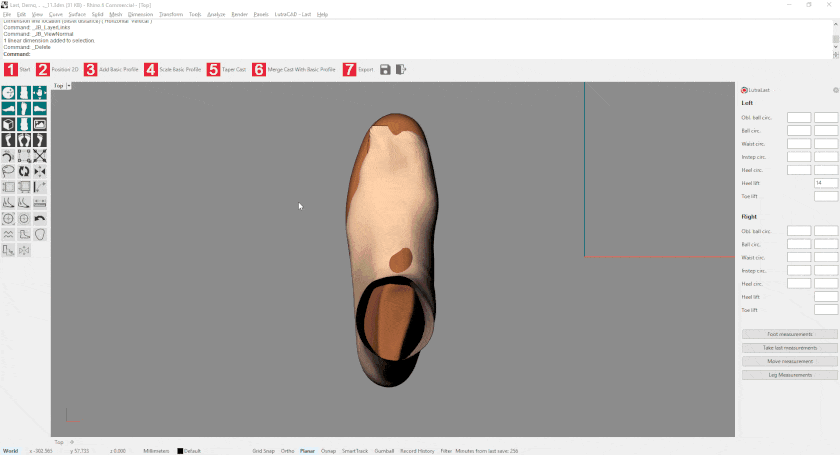
Step 4
Now the template model can be added:
- Click on "Add basic profile" and choose a template model from the list
- Position the template model at the same ball position as the foot scan
- Scale the template model to the same width as the foot scan for the best result
Step 5
The template model will not follow the foot scan at all. By pressing "Scale basic profile" the software will automatically adjust the template model to the shape of the foot scan.
Step 6
Check the toe length and toe box of the template model and, if necessary, edit it with the BoundingBox. It is also possible to add a measurement if a specific length is necessary.
To learn how to add a measurement with a specific length visit the concerned tutorial page.
Step 7
A transition can easily be made between the template model and foot scan by clicking "Taper cast". This will make the area at the ball of the foot and toes thinner.
- Click on "Taper cast"
- Click on a position near where the instep measurement would be taken
- Click on a position near the ball of the foot
- Click on a position near the height of the ankle
- Move the mouse up and down to see the foot scan become thinner or thicker
- Click one last time to confirm the adjustment
This step can also be skipped if you do not want to use this function.
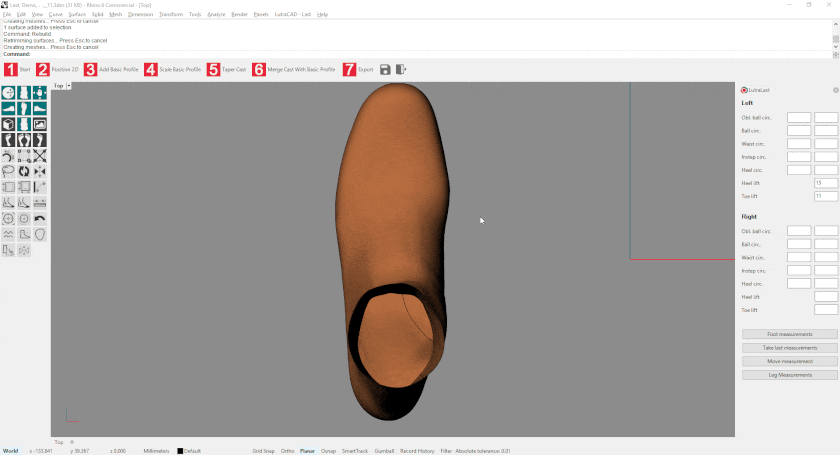
Step 8
This is the step to check your model and "push" the parts inside you do not want to use, because if "Merge cast with basic profile" is pressed the software will merge these parts together. Before merging the 2 parts use the following check points to see where to pay attention:
- If toes are sticking out from the top and bottom view
- If the template model sticks out on the top side at the instep measurement position
- If the rear side of the heel has a correct transition
- If the plantar side is full contact
Clarification: the brown part is the template model and the nude color is the foot scan.

Step 9
Now click "Merge cast with basic profile" and the basis of the last has been made. The following actions can now be used:
- Smooth the transition between the 2 parts with our smooth tool
- Determine the last height
- Check the circumferences of the last
For these actions please visit the corresponding tutorial page.
Step 10
Now the lasts are ready to be exported for milling. By pressing the last step "Export" the lasts will be exported in separate files. By default they will be exported as STL files, but in the settings this can be changed to other formats.
Need help finding the right
anwer to your question?