how to use the bounding box
After measurements are taken or while designing it is necessary to customize the last, foot scan or template model. These steps show how to use the BoundingBox.
Time to finish: 5 minutes
Required: A 3D scan of a foot
Required: LutraCAD Shoe Last software
Step 1
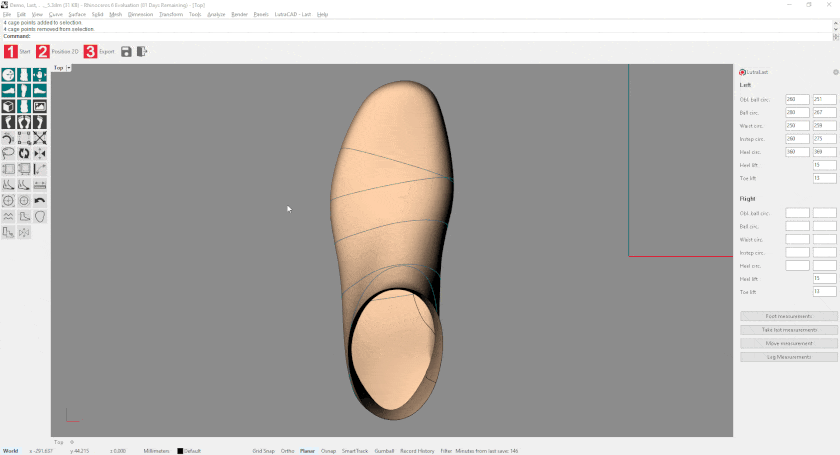
To start customizing an object with the BoundingBox first select the desired object by clicking on it. Then use the BoundingBox button to create a cage around the object. The size of the BoundingBox can be adjusted when creating the cage. Use the triangle in the bottom right corner of the BoundingBox button to choose a size.
Step 2
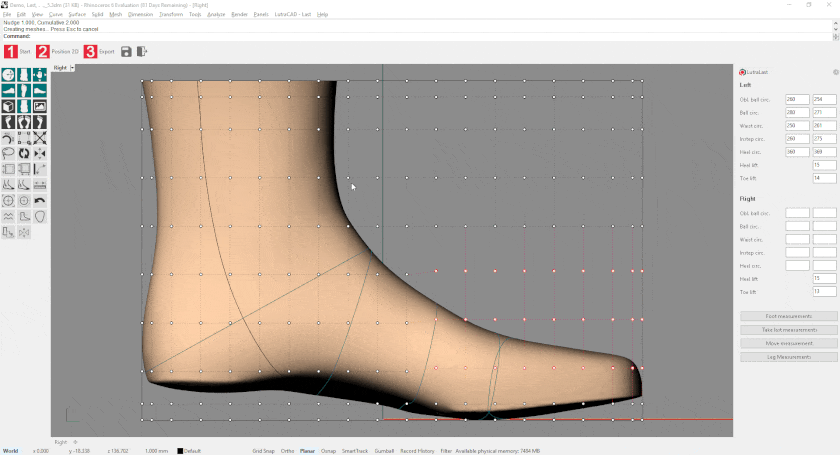
The cage exists of points. Select the points in the area you want to customize the object.
- Points can be added to a selection by holding the SHIFT key and selecting an area.
- Points can be removed from a selection by holding the CTRL key and selecting an area.

Step 3
Use the arrow keys on the keyboard to move the points around. With every nudge the points will move 1mm. The points can be moved from every view.

Step 4
After the adjustments have been made the BoundingBox can be closed by pressing the “Close BoundingBox” button or by pressing the ESC key on the keyboard.
Need help finding the right
anwer to your question?