designing a full-contact insole based on a 3d scan
It is really easy to design your first full contact insole. This guide will help you get started.
Time to finish: 20 minutes
Required: A 3D scan of a foot
Required: LutraCAD Insole software
Please note that there is also a YouTube video available for this tutorial.
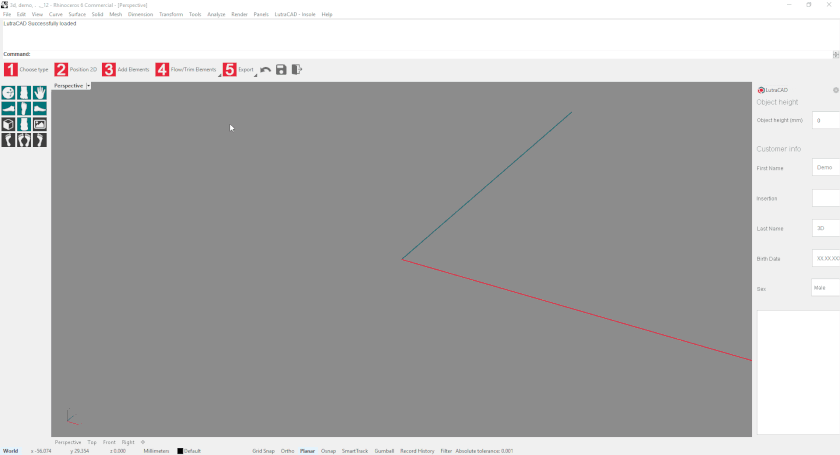
Step 1
To start a fullcontact-insole based on a 3D scan we start by following these steps:
- Click on step 1: choose type
- Choose fullcontact-insole
- Choose a template/shape
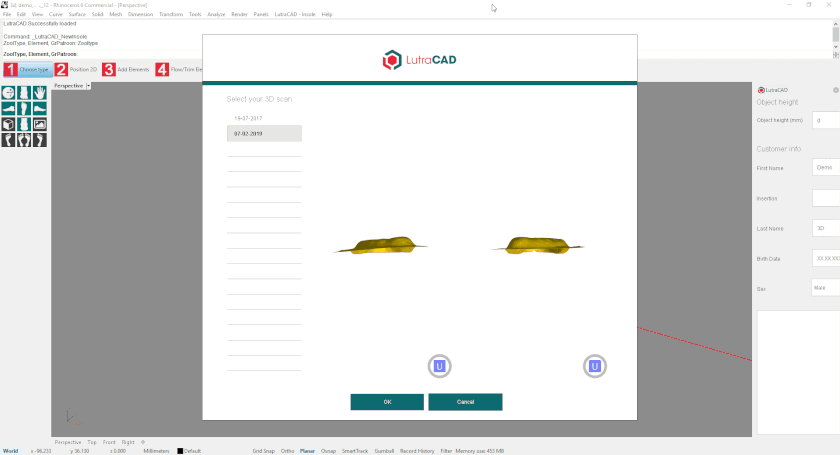
Step 2
If the client has multiple 3D scans you can now choose which to use. If the client only has 1 pair of 3D scans these will automatically be chosen. The software will ask for a shoe size, if you see the bottom/top side of the foot and will then ask for 3 points:
- Metatarsal 1
- Metatarsal 5
- Center of the heel
This will start with left and followed up by the right side.
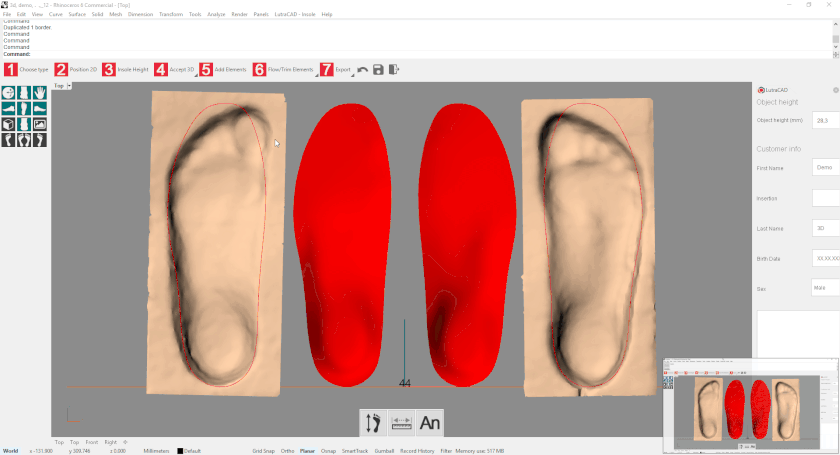
Step 3
Now the 3D scans need to be positioned inside the red contour line by moving and rotating the 3D scans (Rotate help). The software will try to position the 3D scan as good as possible.
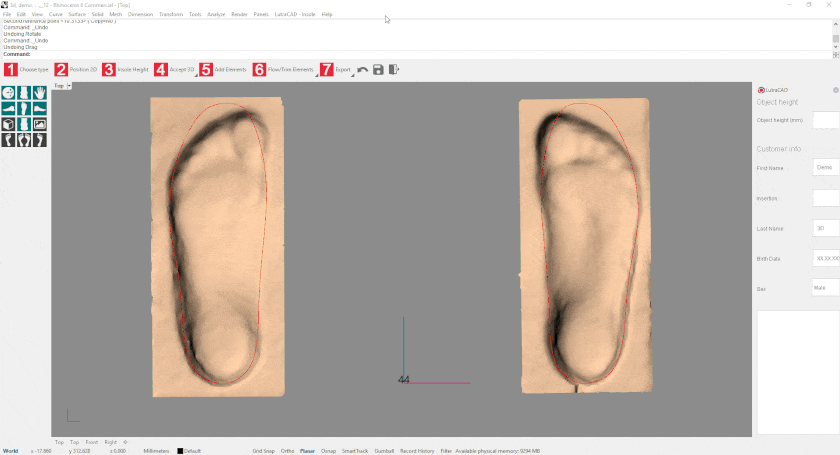
Step 4
If you also have 2D scans you can unlock them with step 2: Position 2D, move and rotate them and lock them by confirming. If you don't use 2D scans you scan skip step 2. For more information see "Designing an insole based on a 2D scan".
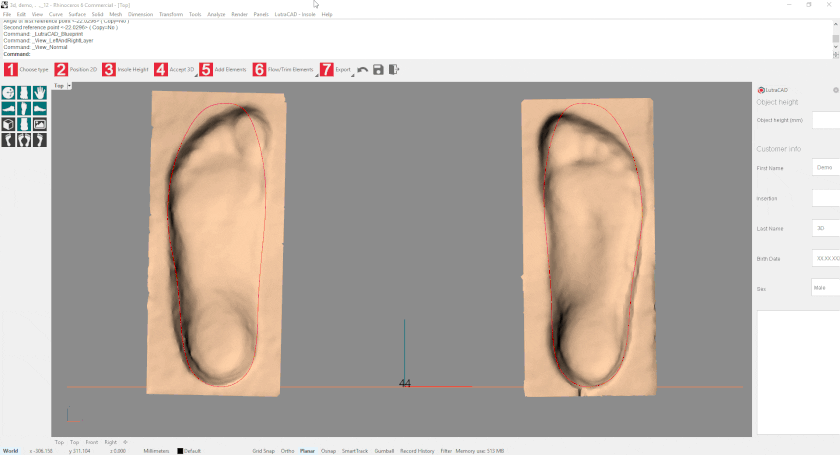
After positioning all the scans we can determine the insole height (height of the arch) by going to the next step 3: Insole height. This will let you see the medial side of the foot to easily determine the height. The software will automatically try to find the highest point.
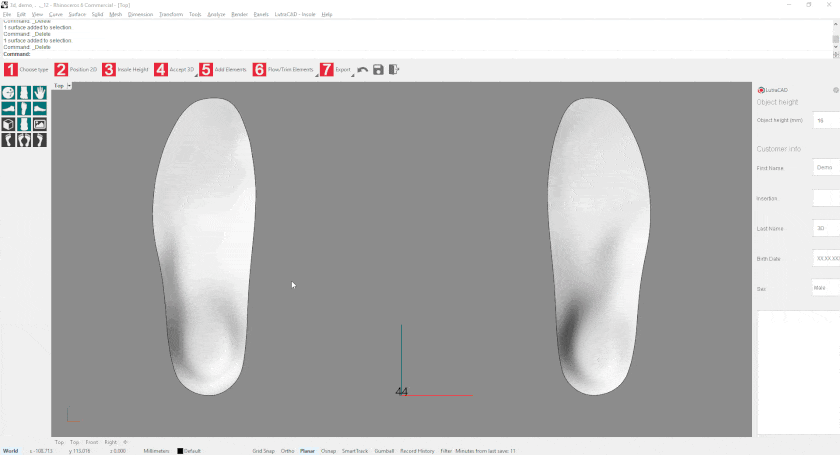
Step 5
Everything is now set to generate our fullcontact-insole. After setting the insole height LutraCAD will start generating. This can take a couple of seconds and the examples will be shown in red in the center of the screen.
We cannot make any corrections to the insoles yet, but we can still adjust the shoe size or move the 3D scans around. When we are satisfied we can confirm the preview by clicking Step 4: Accept 3D. Now the insoles turn white we can add elements, give correction, export or convert to 3D print.
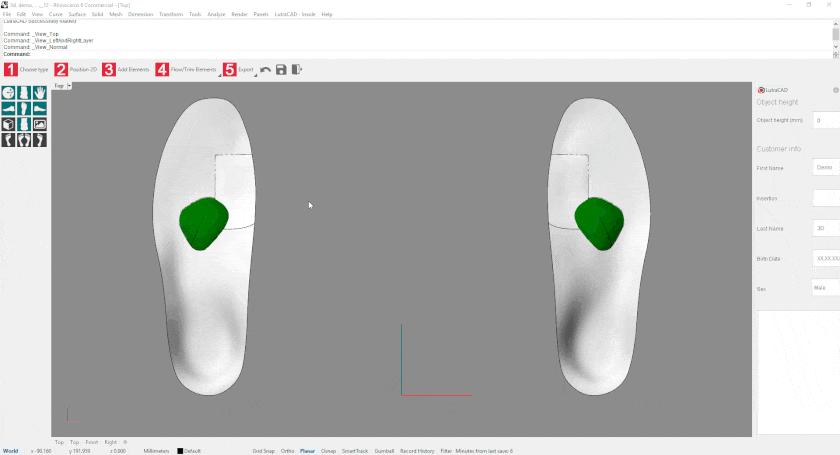
Step 6
Let's start with adding elements. This can easily be done by using step 5: Add Elements. A full library will be shown and choose which you would like to use. Multiple can be selected if needed. When the elements get imported they all start on the ground surface.
To lay them on top of the insole and trim the edges we need to use step 6: Flow/Trim Elements, but before we go to this step we need to position the elements, adjust shape and height if required.
Step 7
Now the insoles are ready to be exported for milling. By pressing step 5: Export a pop-up will be shown and will ask how you want to export the insoles.
If you want to know how to convert these insoles to 3D printable objects please see the FAQ: How can I export a 3D printable insole.
Hereby the complete step list to design a fullcontact-insole:
- Click on "Step 1: Choose Type" and pick Fullcontact-Insole
- Choose your pattern/shape
- Click on metatarsal 1, metatarsal 5 and the center of the heel
- Determine Insole Height
- Preview your Fullcontact-insole
- If needed change size and update 3D preview
- Accept Fullcontact-insole
- If required add elements and make corrections
- Export insole or convert to 3D Print
Need help finding the right
anwer to your question?